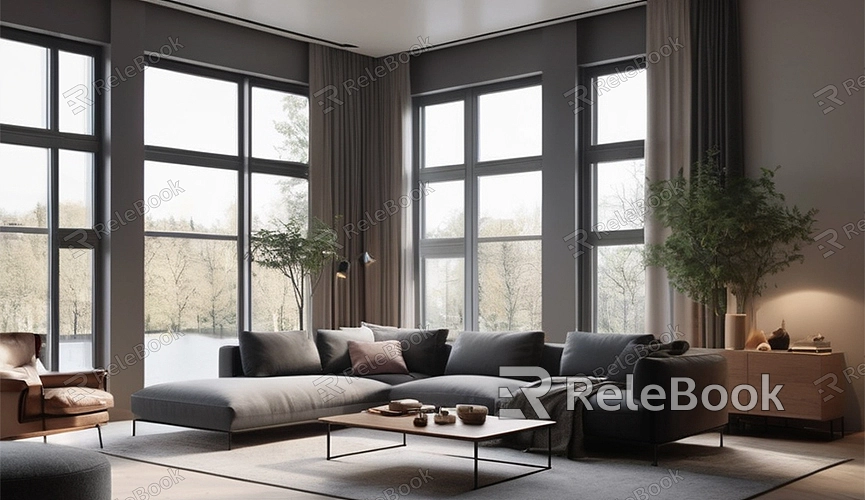
How to Render Out an Animation in Blender
Blender is a powerful 3D modeling and animation software. Whether you're a professional 3D artist or an amateur enthusiast, learning how to render animations in Blender is a crucial skill. This article will introduce the steps to render animations in Blender, helping you get started quickly and produce high-quality animated works.
Preparation
Before starting the animation rendering process, you need to ensure the following:
1. Scene Setup: Ensure that the scene, including models, materials, lighting, and camera positions, is properly set up.
2. Animation Setup: Make sure all animation keyframes are set, and the animation plays correctly on the timeline.
3. Blender Version: It's recommended to use the latest version of Blender to access the latest features and optimizations.

Setting Output Options
Before rendering, you need to set the output options. Here's how:
1. Open the Output Panel: On the right side of the Blender interface, find the "Output Properties" tab and click to open it.
2. Choose Output Directory: In the "Output" section, click the folder icon to select a directory to save the animation files.
3. Select File Format: Choose an appropriate format from the dropdown menu under "File Format." If you want a video file, it's recommended to choose FFmpeg Video.
Setting Rendering Parameters
Next, we need to set rendering parameters to ensure animation quality and rendering speed.
1. Resolution: Set the resolution in the "Output Properties" panel. Common resolutions include 1920x1080 (Full HD) and 1280x720 (HD).
2. Frame Rate: Set the frame rate in the "Output Properties" panel, usually choosing between 24fps or 30fps.
3. Frame Range: Set the start and end frames of the animation to cover the entire animation duration.
Choosing the Rendering Engine
Blender offers multiple rendering engines, including Eevee and Cycles. Choose the rendering engine that suits your needs.
1. Eevee: A real-time rendering engine known for its speed, suitable for quick previews and simple animations.
2. Cycles: A physically-based rendering engine known for its high quality but slower rendering speed, suitable for high-quality animation rendering.
In the "Render Properties" panel, select the appropriate rendering engine.
Rendering Optimization
To improve rendering efficiency and quality, we need to make some optimization settings.
1. Samples: Set the number of samples in the "Render Properties" panel. Eevee recommends between 16-64, while Cycles recommends between 128-512. Higher samples result in better quality but longer rendering times.
2. Ray Tracing: If using the Cycles engine, adjust ray tracing settings, including reflection, refraction, and global illumination parameters.
3. Denoising: Enabling denoising can reduce noise in renders and improve image quality. In the "Render Properties" panel, find the denoising option and enable it.
Start Rendering
Once all parameters are set, you can start rendering the animation.
1. Render Animation: In the Blender top menu bar, click "Render" -> "Render Animation."
2. Monitor Rendering Progress: During rendering, Blender will display the rendering progress of each frame. Rendering time may vary depending on the animation length and settings.
Post-processing
After rendering is complete, you'll get a series of images or a video file. If you chose an image sequence, you can composite them into a video file using Blender's Video Sequence Editor.
1. Import Image Sequence: In the Video Sequence Editor, import the rendered image sequence.
2. Add Audio: If needed, you can add audio files in the Video Sequence Editor.
3. Export Video: After setting export parameters, click "Render" -> "Render Animation" to export it as a video file.
By following these steps, you can render high-quality animations in Blender. Rendering animations requires patience and meticulous settings, but with experience, you'll find the process becomes simpler. If you need high-quality 3D textures, HDRI, or 3D model downloads while creating models and virtual scenes, you can download them directly from Relebook and import textures and 3D models into your project for use.

